Calabi Labs · Guide · 2026-05-30
Compress image for facebook
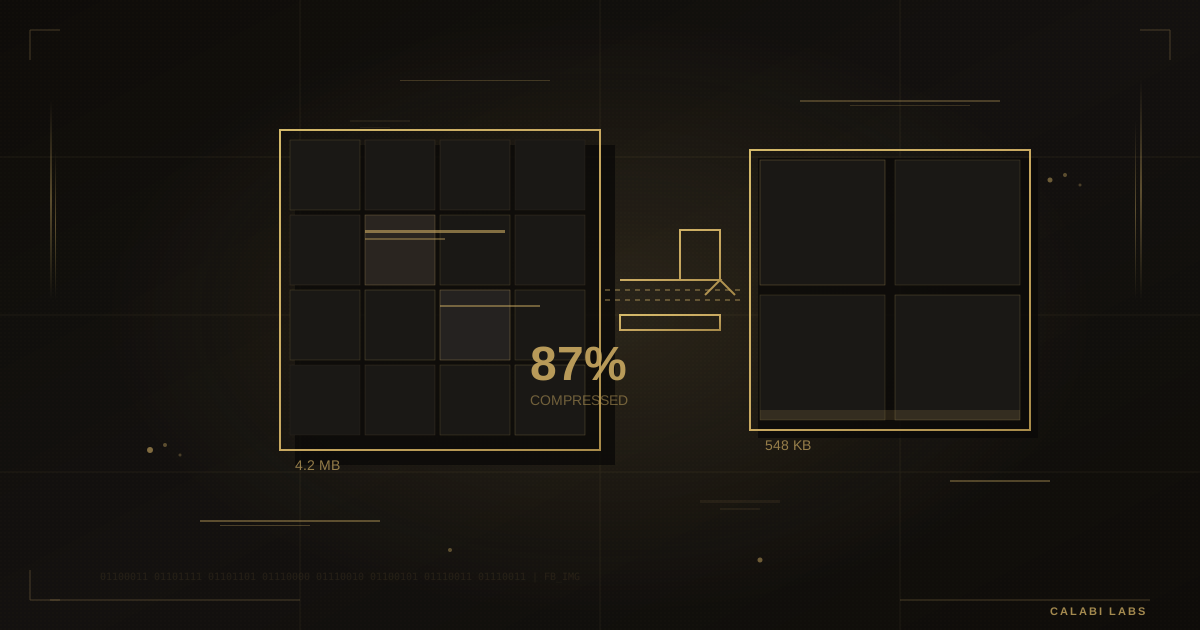
How to Compress Images for Facebook
The fastest way to compress an image for Facebook is to use an online tool, upload your image, and download the optimized file. But here's what you actually need to know to do it right.
What "Compress for Facebook" Means
Facebook compresses images automatically when you upload them. But if you start with a poorly optimized file, the quality loss becomes noticeable. Compressing before upload means reducing your file size before Facebook's servers touch it—giving you better control over the final result.
Facebook's Image Specs You Should Know
| Type | Recommended Size | Max File Size | Best Format |
|---|---|---|---|
| Feed post | 1,200 × 630 px | 100 MB (Facebook will compress) | JPG or PNG |
| Cover photo | 820 × 312 px | Under 2 MB for best quality | JPG |
| Profile picture | 180 × 180 px | Under 2 MB | JPG or PNG |
| Story | 1,080 × 1,920 px | Under 2 MB | JPG |
Facebook accepts PNG but converts everything to their own format. JPG is usually the safer, smaller choice.
How to Compress an Image for Facebook (3 Methods)
1. Use an Online Compressor (Fastest)
- Open Calabi or another image compressor
- Upload your photo
- Adjust quality to 75–85% (keeps good detail, drops file size significantly)
- Download and upload to Facebook
2. Use Desktop Software
- Photoshop: Save for Web → choose JPG → set quality to 60–80
- GIMP: Export as JPG → move the quality slider down
- Preview (Mac): Export → adjust resolution and quality
3. Resize Before Compressing
If your image is 5,000 pixels wide, Facebook will shrink it anyway. Resize to around 2,000px on the longest side first, then compress. This alone cuts file size dramatically.
Quick Tips for Best Results
- Keep files under 1 MB for feed posts—small files load faster and look cleaner
- Use 72 DPI (screen resolution), not 300 DPI (print resolution)
- Strip metadata if your compressor lets you—removes location and camera data and slightly reduces file size
- Test on mobile—most people view Facebook on phones, so what looks fine on your monitor might appear over-compressed on a phone
Common Mistake to Avoid
Don't compress a huge file to a tiny file and expect it to look great. If you start with a 10 MB image and compress it to 50 KB, it will look bad. Resize first, then compress. The right workflow is: resize → set reasonable quality → compress.
The Bottom Line
Facebook will compress your image regardless. Your job is to start with a properly sized, already-compressed file so Facebook's compression doesn't ruin it. Resize to the right dimensions, export as JPG at 75–85% quality, and you're good.
Try Calabi free at calabilabs.com — 3 cleans, no card.